As you may have read in part one, our team is working on an app to automate the brewing of craft beer. To understand the homebrewing process we made a batch of Pacific ESB, an ale that is light with a crisp bitter aftertaste. We made a few mistakes throughout the process (BURNT GRAINS) but learned from those mistakes to make the second batch better.
*Disclaimer: What’s brewing, figuratively, not literally. The lab is not food safe, NO FOOD OR DRINKS IN THE LAB!
What we need to do next is prepare our sensors and electronics. Primarily, the qualities we are looking for are alcohol content, acidity, and temperature. We want to ensure that the data we collect is reliable and accurate for our app and future users so we took the time to work with them and learn them!
First is the DS18b20 temperture sensor from Adafruit. This is a 1-wire temperature sensor that is simple and easy too setup. It requires no external components, can be powered by logic level (5V) and like each and everyone of us, it has unique 64 bit serial code stored into its ROM memory. What this means is that we can connect up to 63 device to 1 arduino port. With this configuration protocol we will be hooking up 4 of these sensors to the arduino to measure ambient temperature, the temperature of our cooling device, and the temperature of the brew.
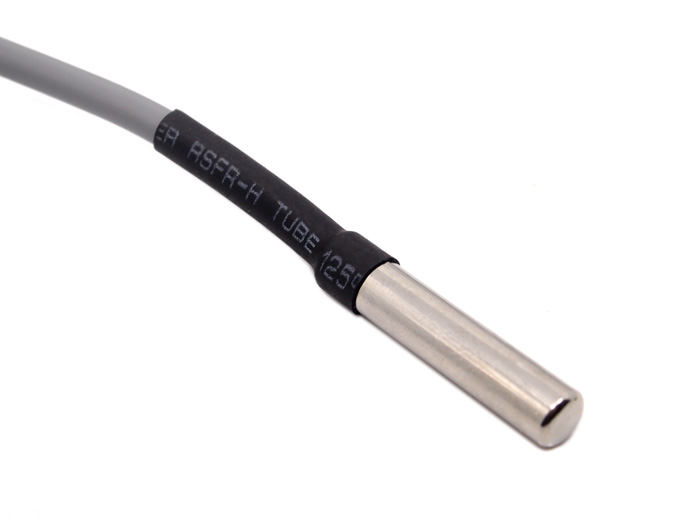
Adafruit’s temperature sensor
Next we want to measure alcohol content, homebrewers measure the specific gravity of the batch. Since alcohol is less dense than water the specific gravity measurement will be lower after the fermentation process. Our goal will to measure the change in weight of a suspended mass inside the batch. To do so we want a device that measure force applied i.e weight. This is our load cell.

Sparkfun load cell
Last device in this set is a Thermoelectric cooler, otherwise known as the Peltier plate. A temperature difference between two different metals will create a voltage difference and the converse is true as well. That means, by pumping electricity, we can reach teamperatures as low as -5C and 60C at once. For us this means a system that can heat and cool.
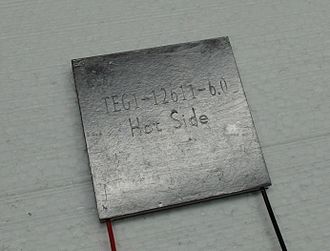
Peltier Plate
Our goal was to make sure all of our equipment was working and seeing if anything needed calibration. Then we wanted to create a test situation where we would use the peltier plate to cool water while wew measured the temperature and weight of the water.
One of the first drawbacks is that the Load cell did not work. Data was not being sent and the values we had were ridiculous.
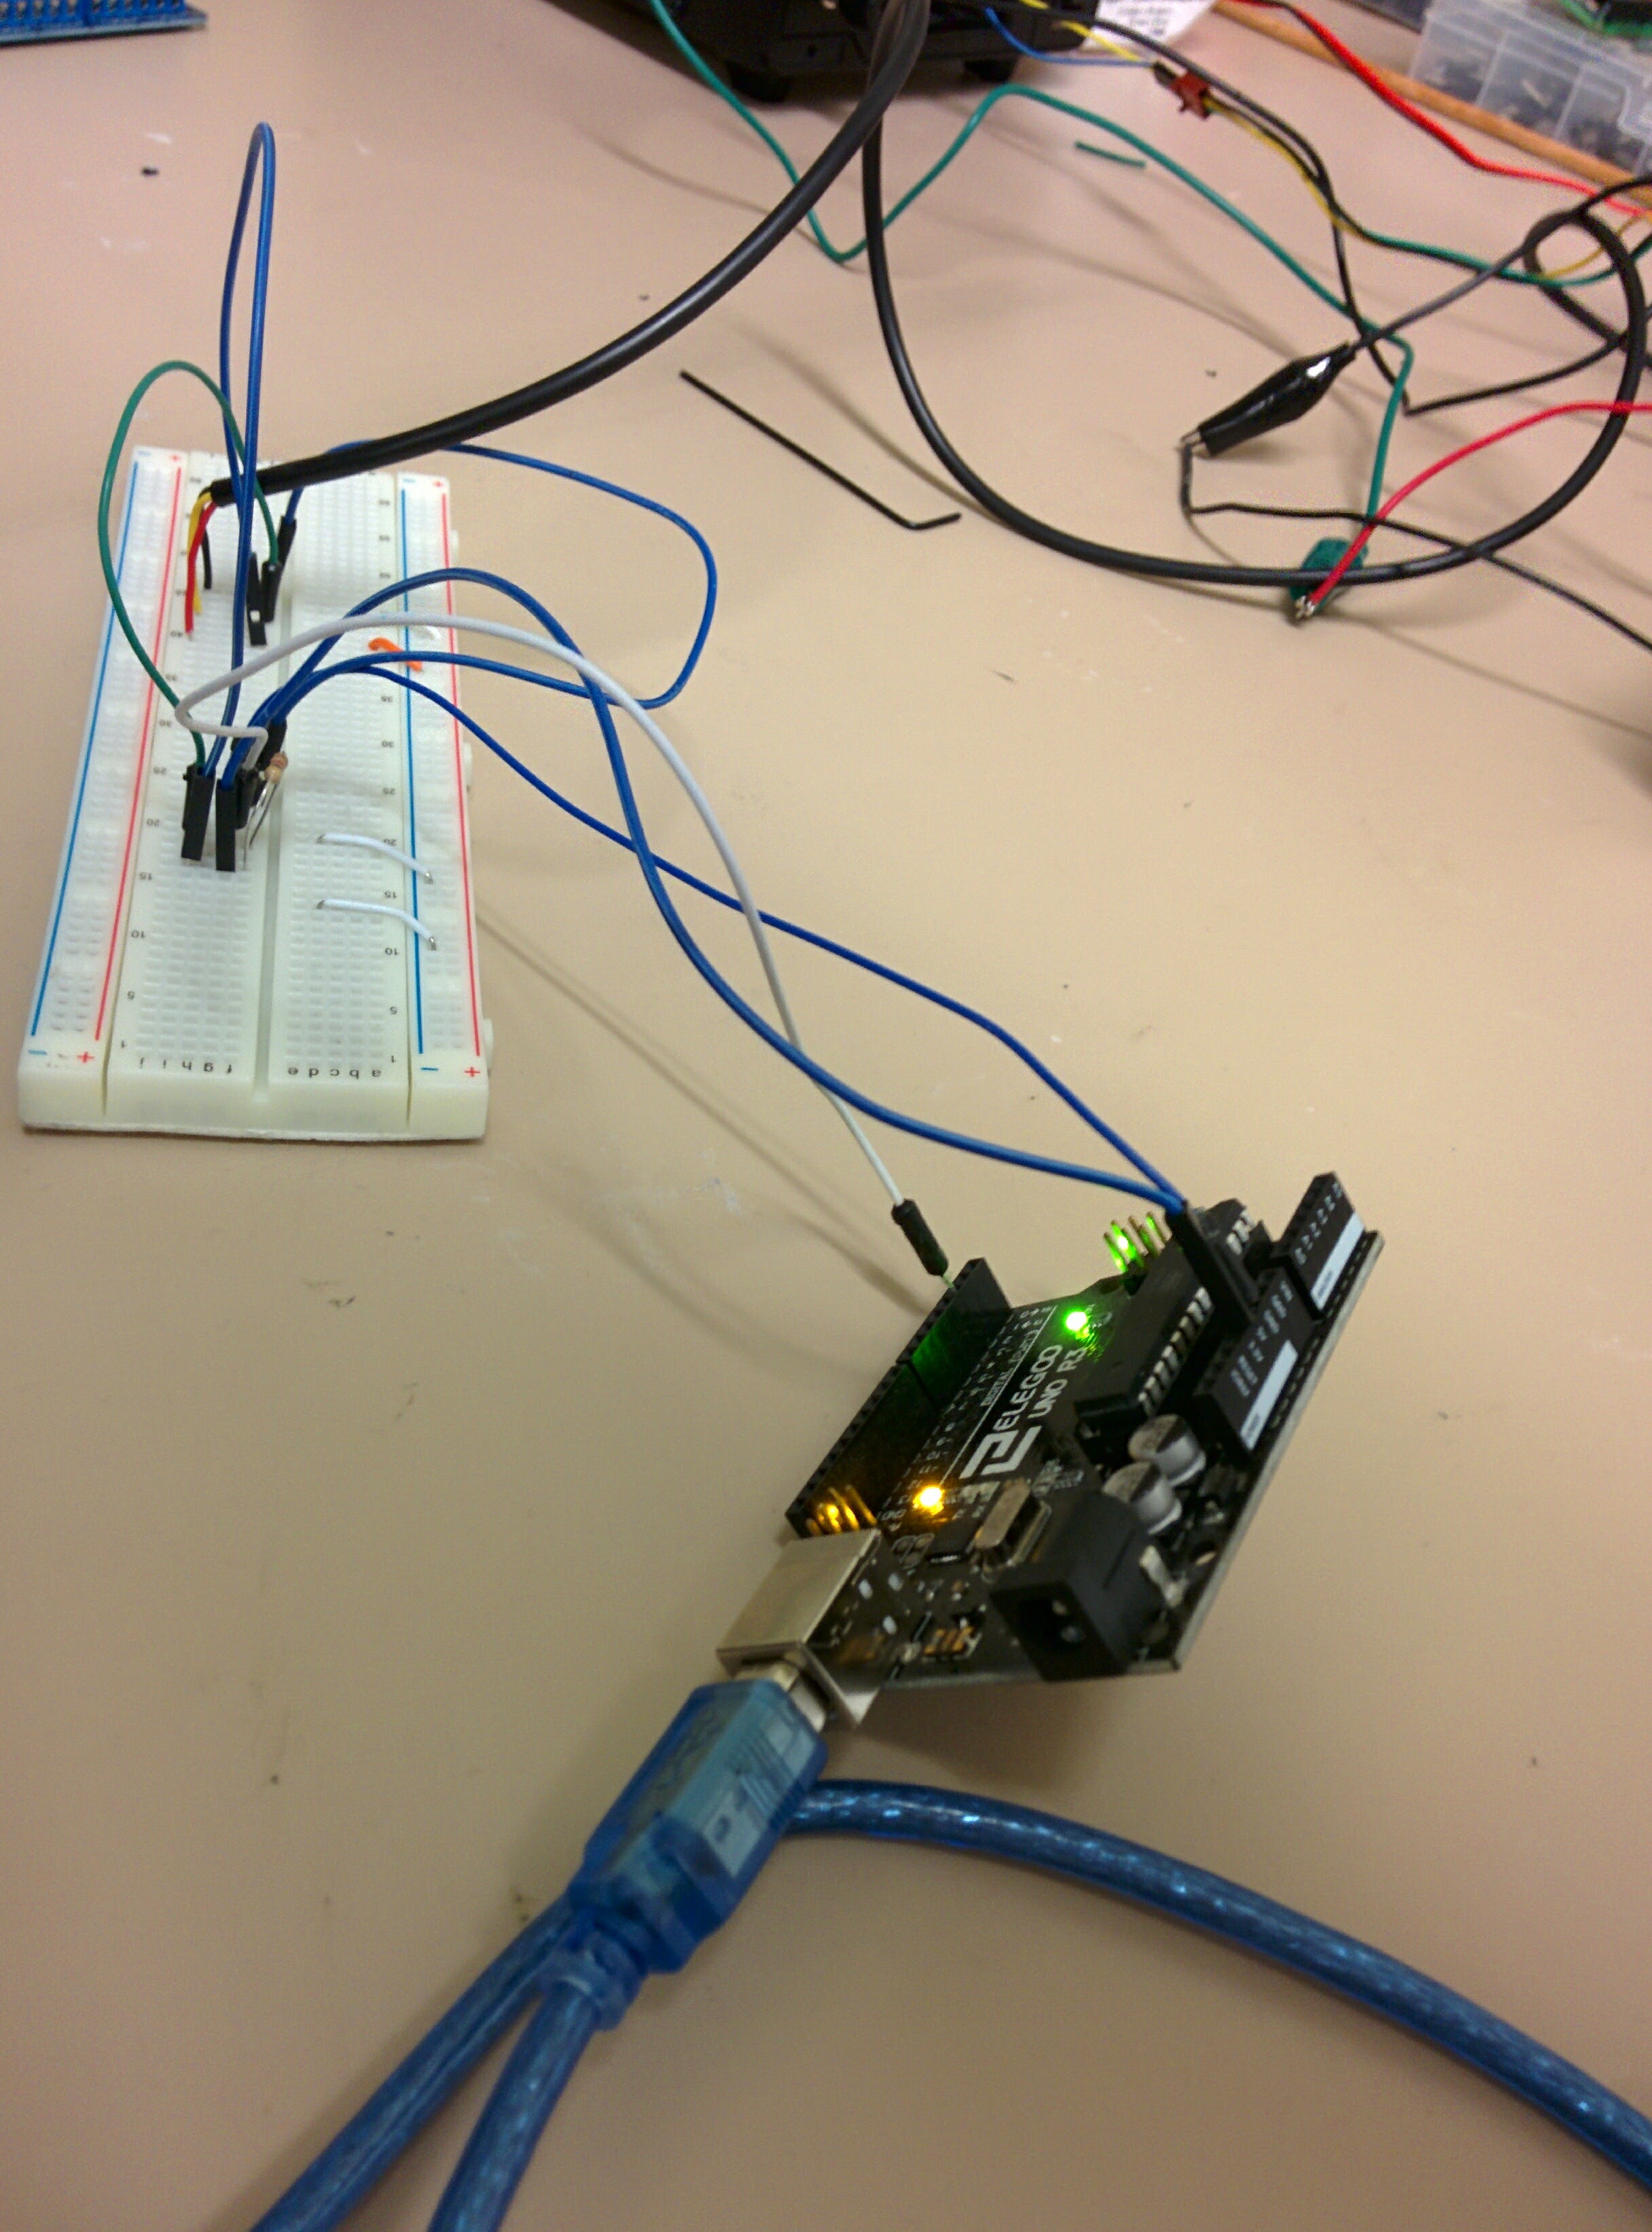
Load Cell Wiring
The temperature sensors went much better. The design of the sensor was plug & play and we were getting data fast and accurately in minutes. Chaining them in series took some time. We had to get to know each and everyone of them and their adresses but it worked and worked without a hitch it did.
Two temperature sensors here measure ambient temperature and water temperature
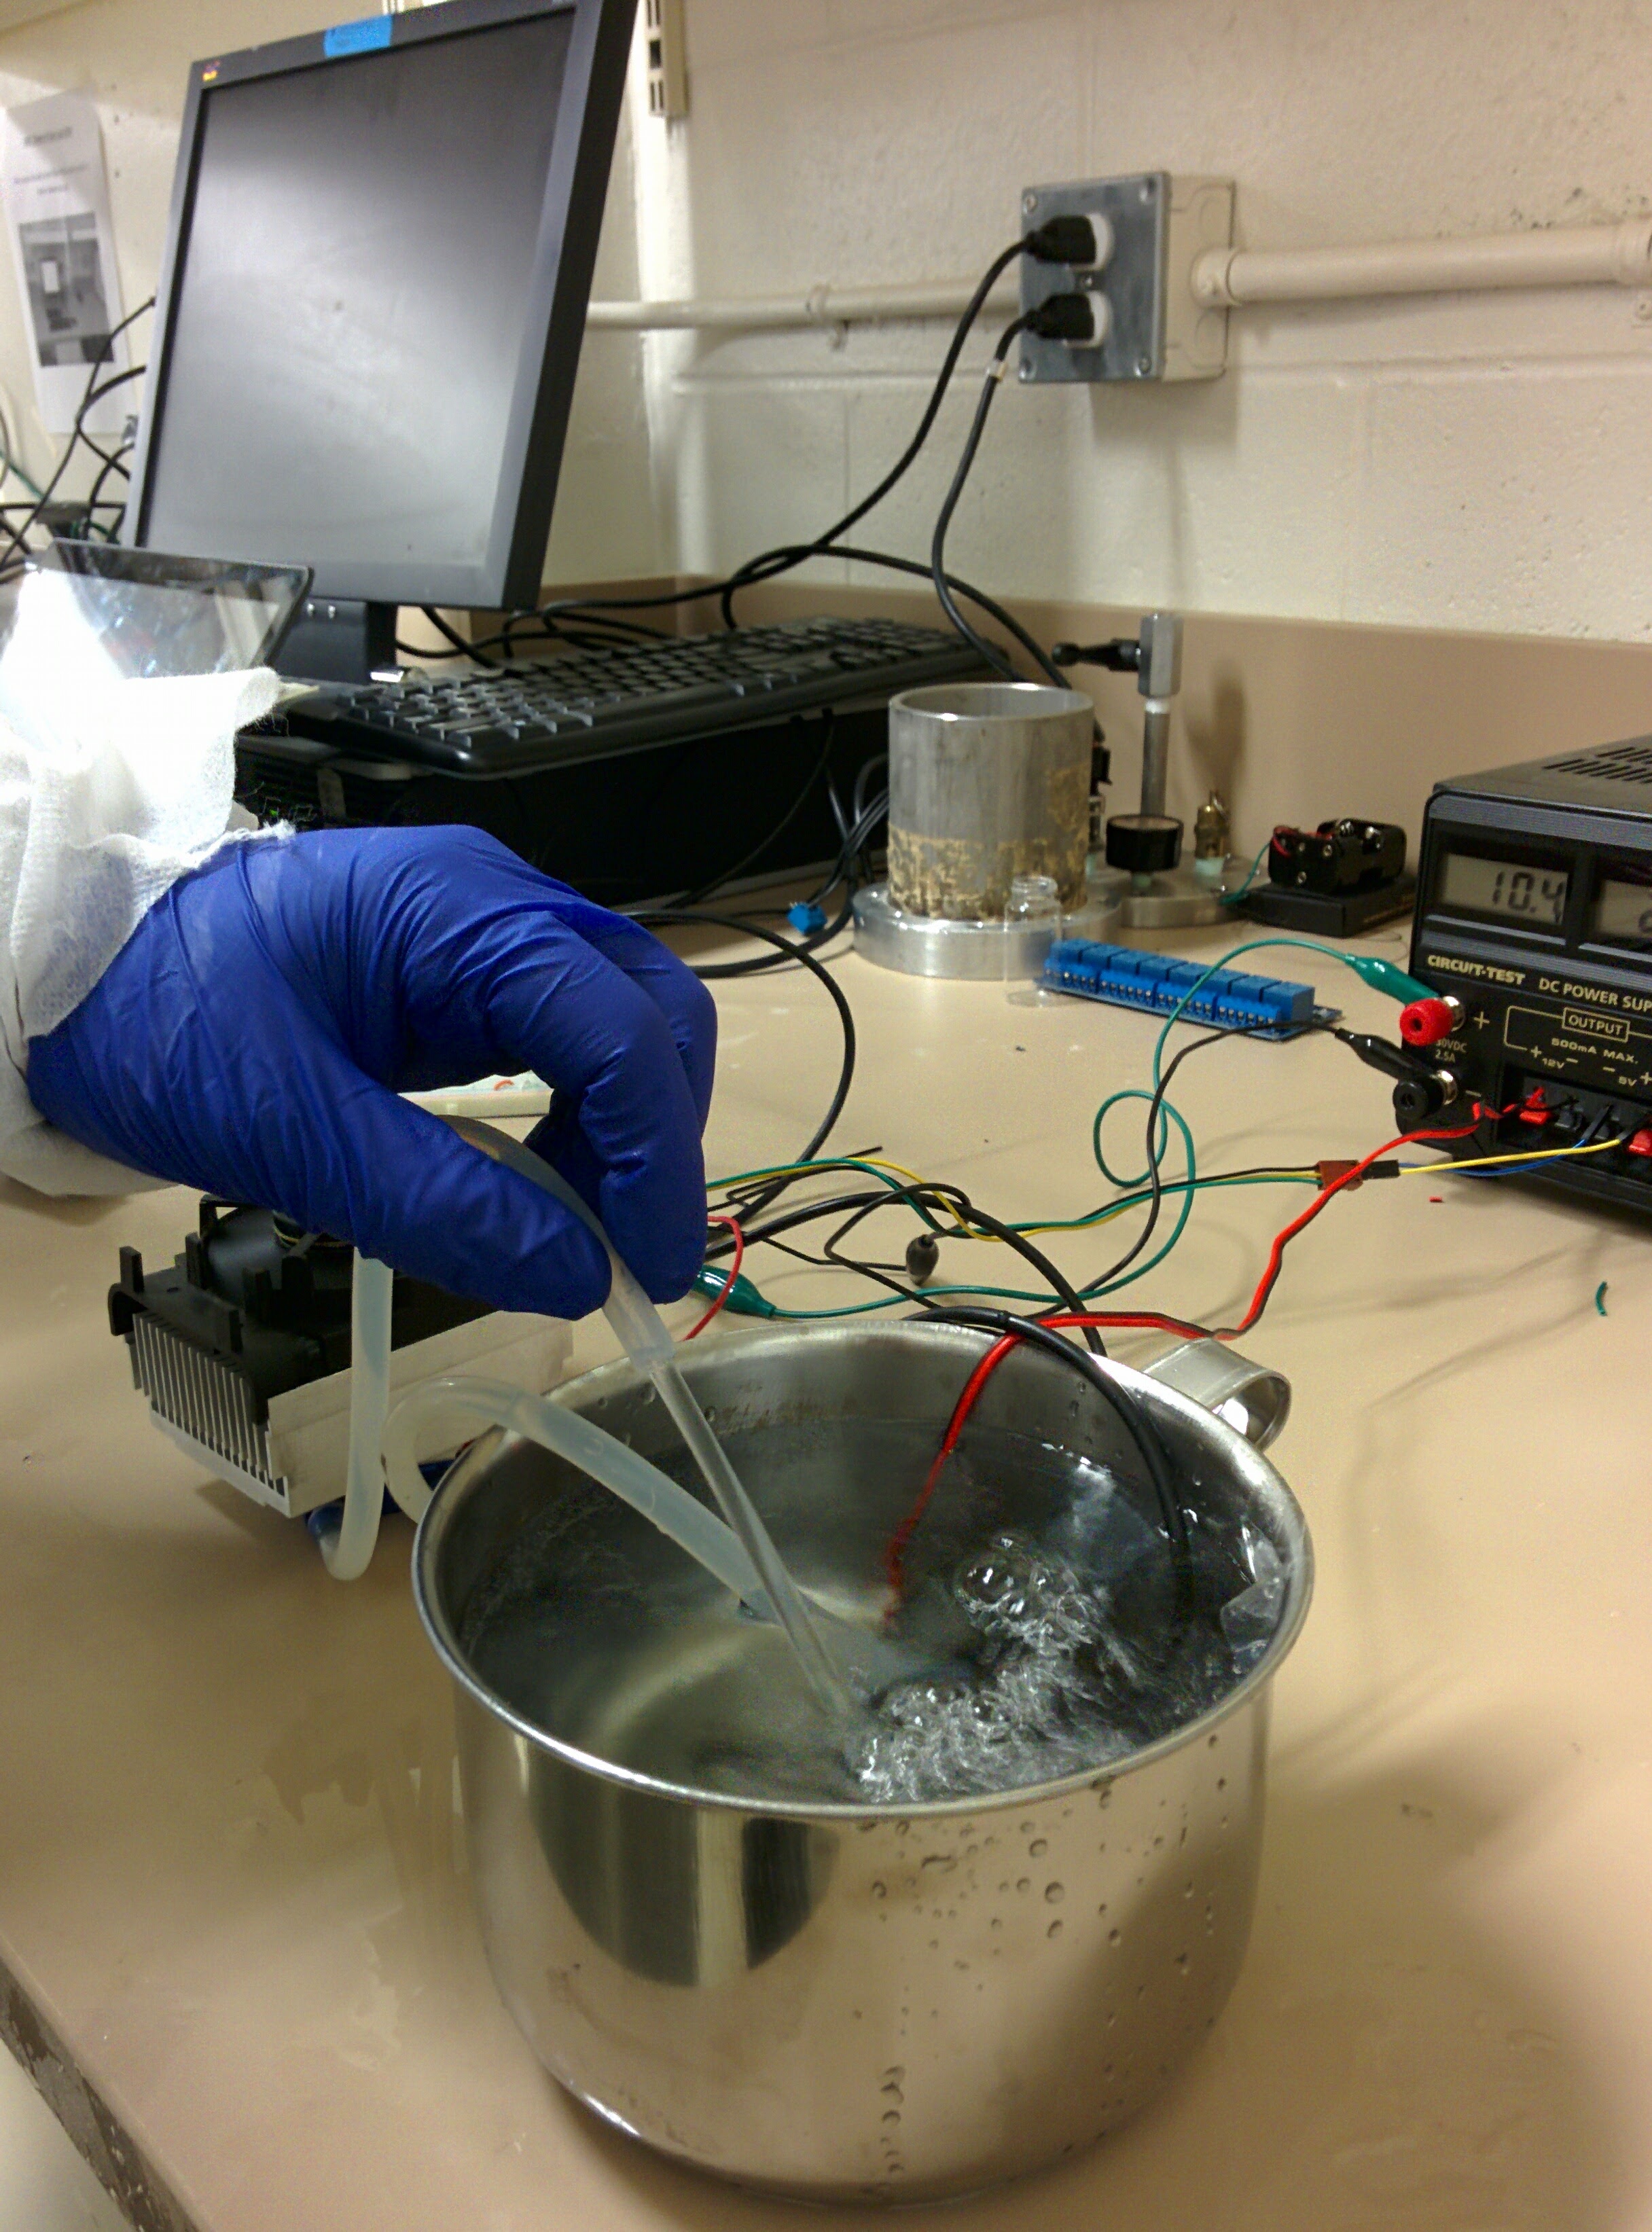
So when you have a pelteir plate one side heats up and the other side cools. So one issue is that the heat from the hot side will seep into the cold side thus losing efficiency. To rectify that we added a heatsinkand a fan to the hot side so the heat dissapates faster. On the other side we had it hooked up to a small container of water in which we ran through a pump.
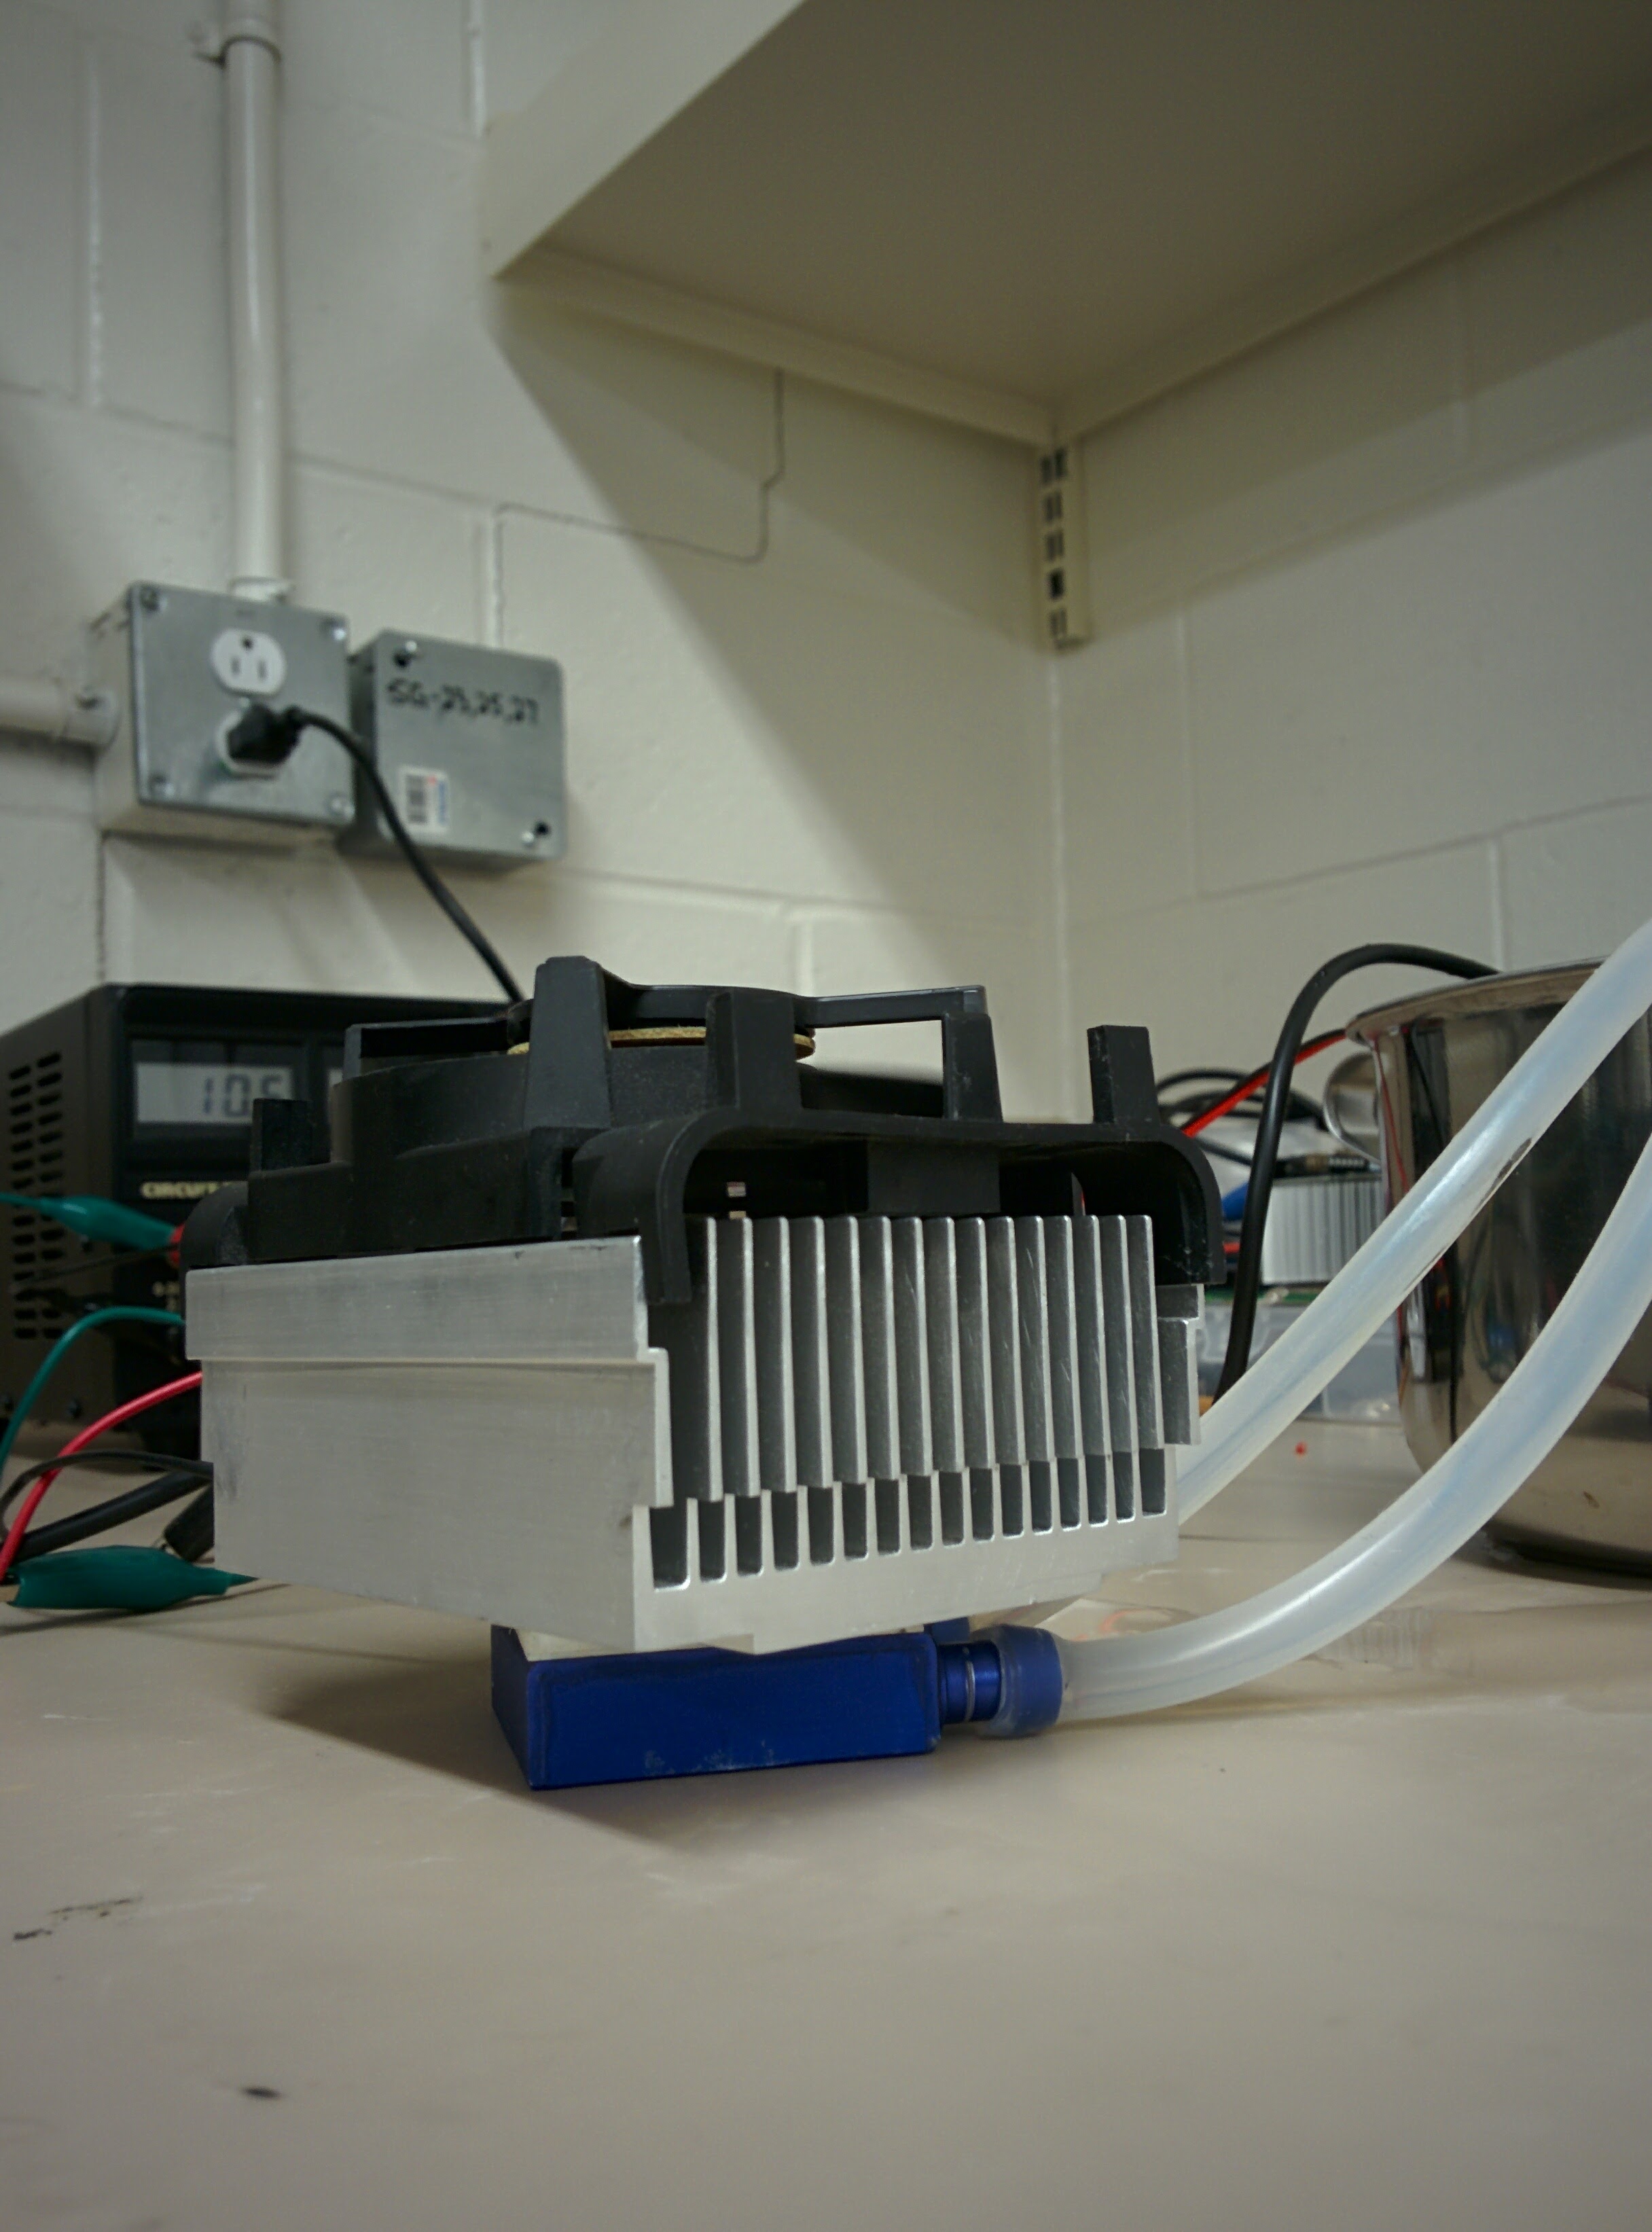
The system here shows the heatsink, fan and peltier and water unit.
This is the full setup that we have:
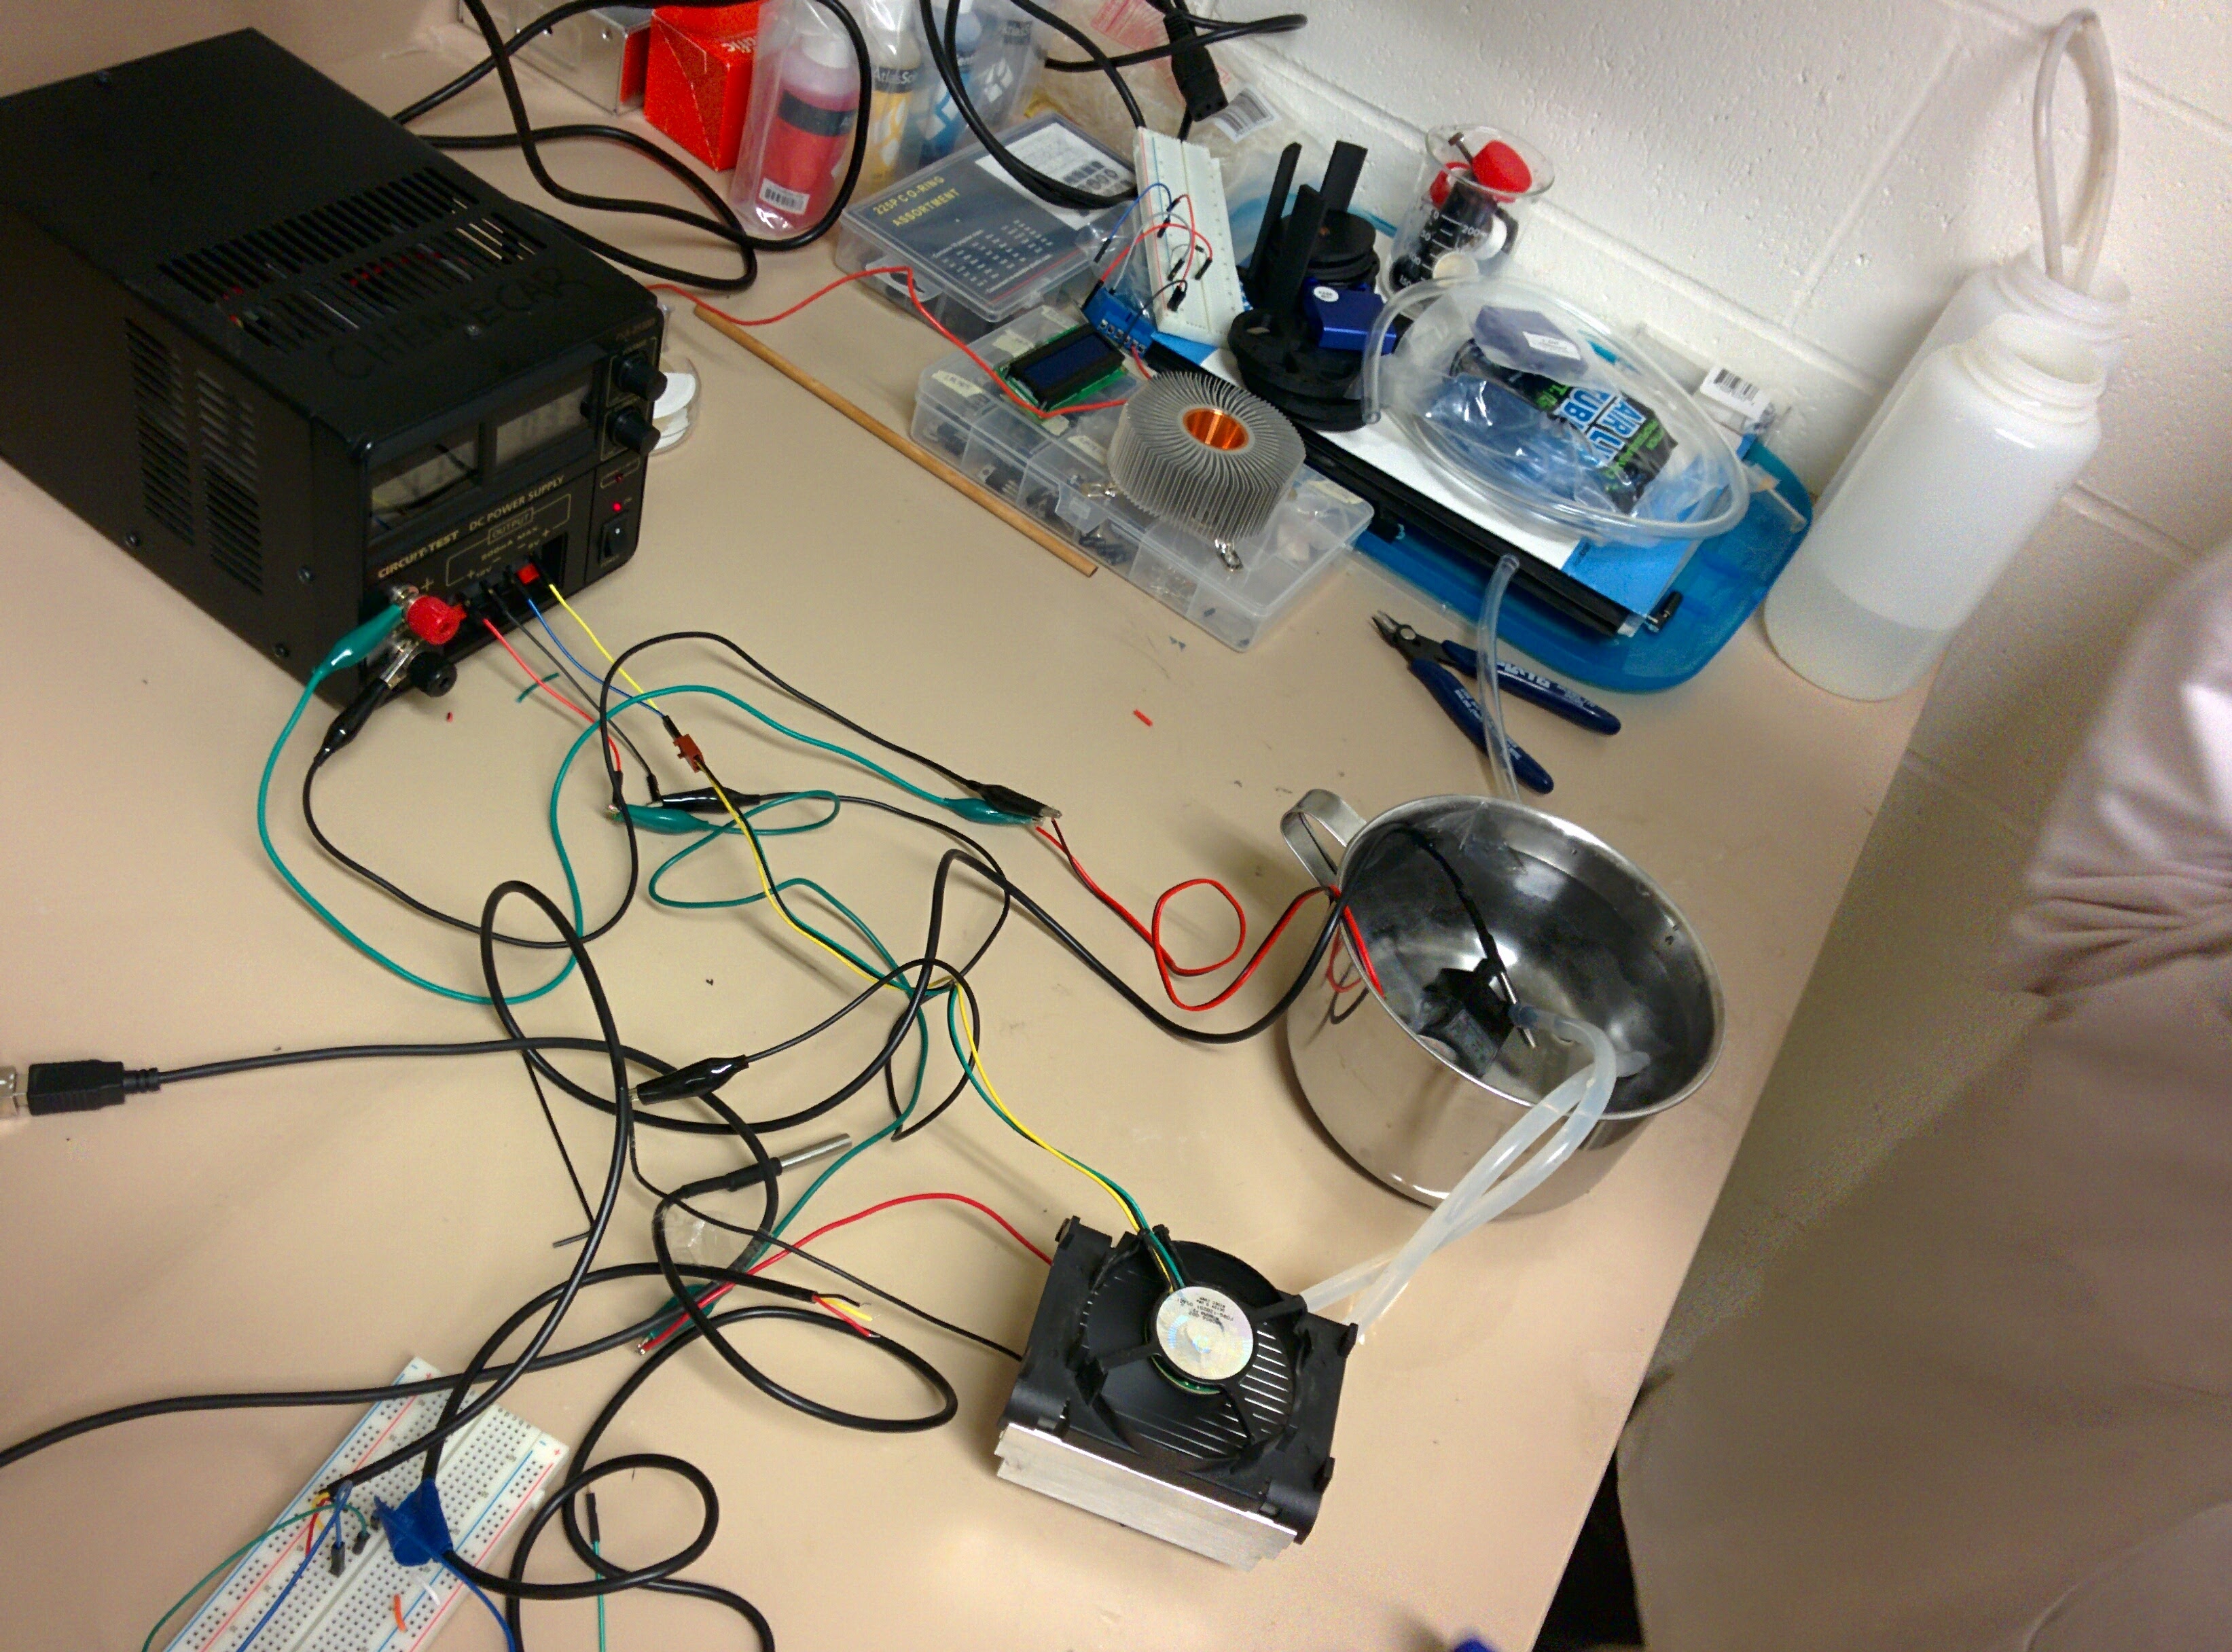
Complete configuration
We run water through a small tank that gets cooled by the peliter plate. Simple! Well it rarely is. The water wasn’t cooling. With numerous factors.
Our peltier plate wasnt heating at it maximum potential. The power supply we used is only rated for maximum of 3 amps. This only lowered our temperature on the cold side of the pletier plate to about 10°C
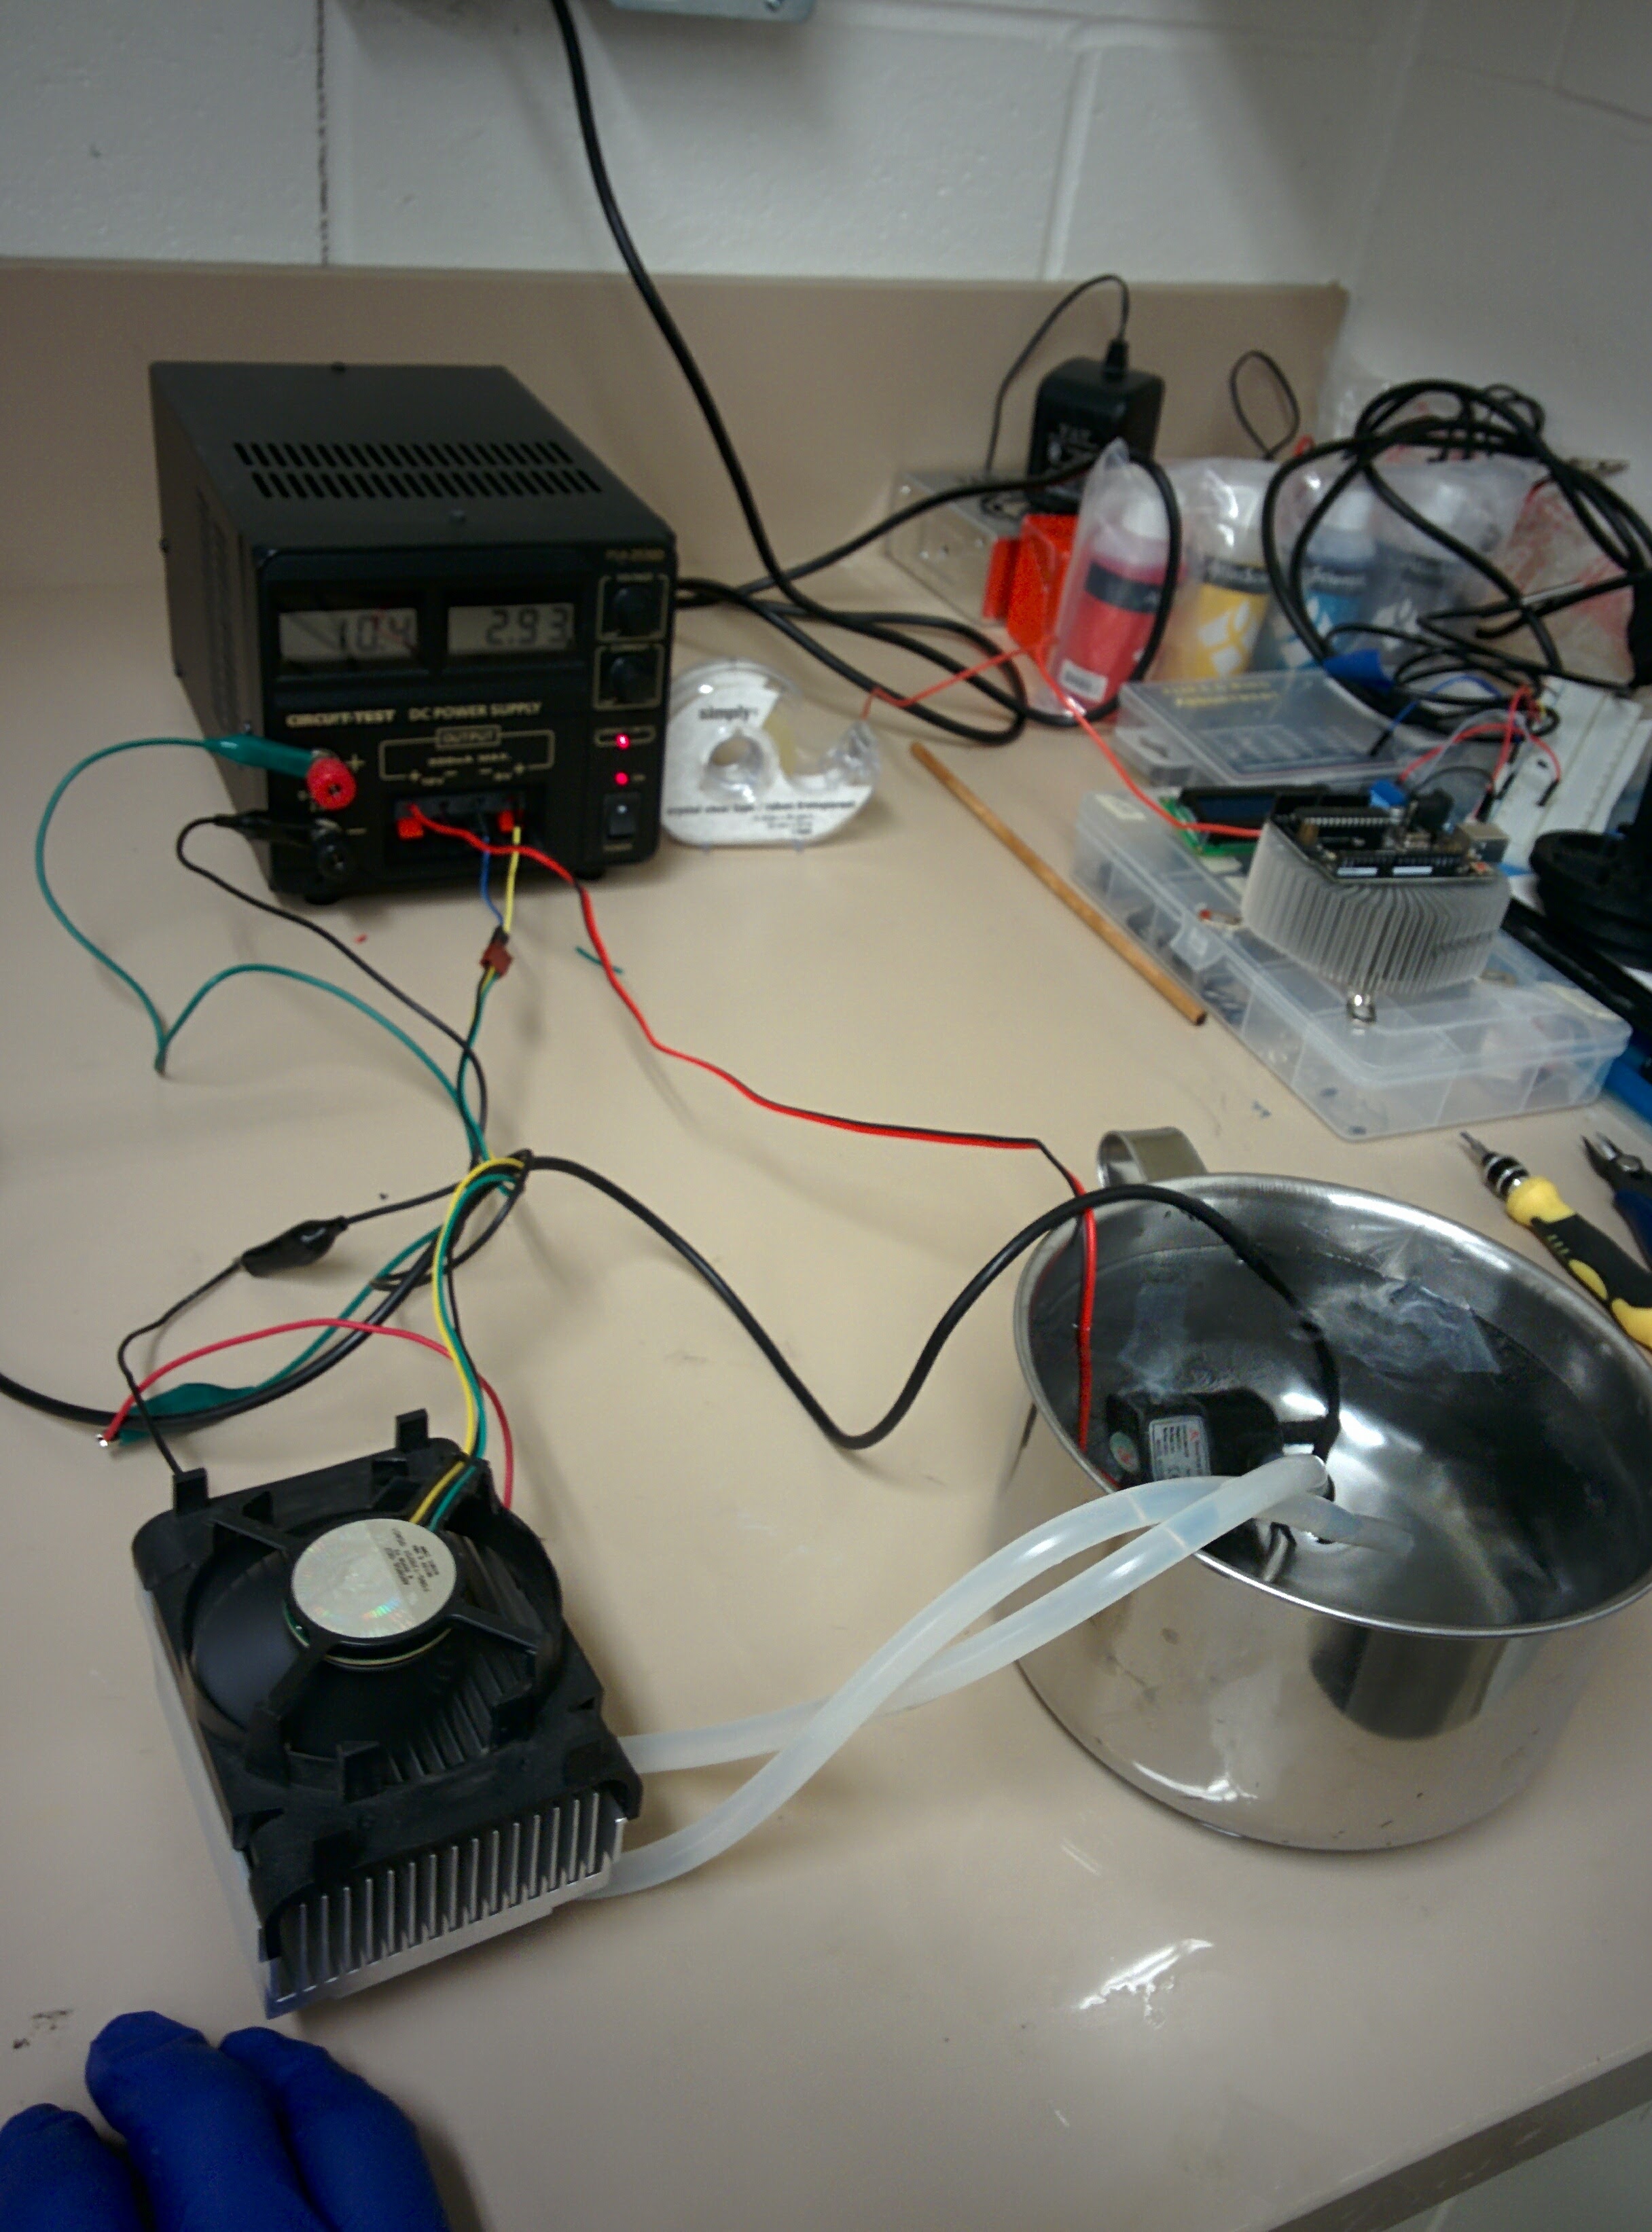
Current limitations
In our preliminary test we simply put the heatsink on top of the peltier plate and the plate to the water tank. This configuration does not transfer heat well at all due to the uneven surfaces. Lastly, The water cooling tank was too small for a flowrate that was too fast. The water didn’t have time to actually get cold before moving out of the tank.
All in all the goal of testing or sensors was done. We are going to need a new laod cell or figure out whats wrong with this one. The temperature sensors work well. We just need to figure out some more design parameters before we make the real thing.